Jewelry photography is one of the most demanding types of product photography. Unlike clothing, furniture, or electronics, jewelry pieces are tiny, highly reflective, and packed with intricate details that customers want to inspect before making a purchase. A single fingerprint, dust particle, or unwanted reflection can significantly reduce the perceived value of an expensive necklace, engagement ring, bracelet, or pair of earrings.
Professional jewelry brands understand that stunning product images directly influence customer trust and online sales. In today's competitive eCommerce market, buyers often decide within seconds whether a product looks premium enough to purchase. That's why jewelry photo editing has become just as important as jewelry photography itself.
In this guide, you'll learn exactly how professionals edit jewelry photos—from basic cleanup to advanced retouching techniques—to create luxury-quality images that attract customers and increase conversions.
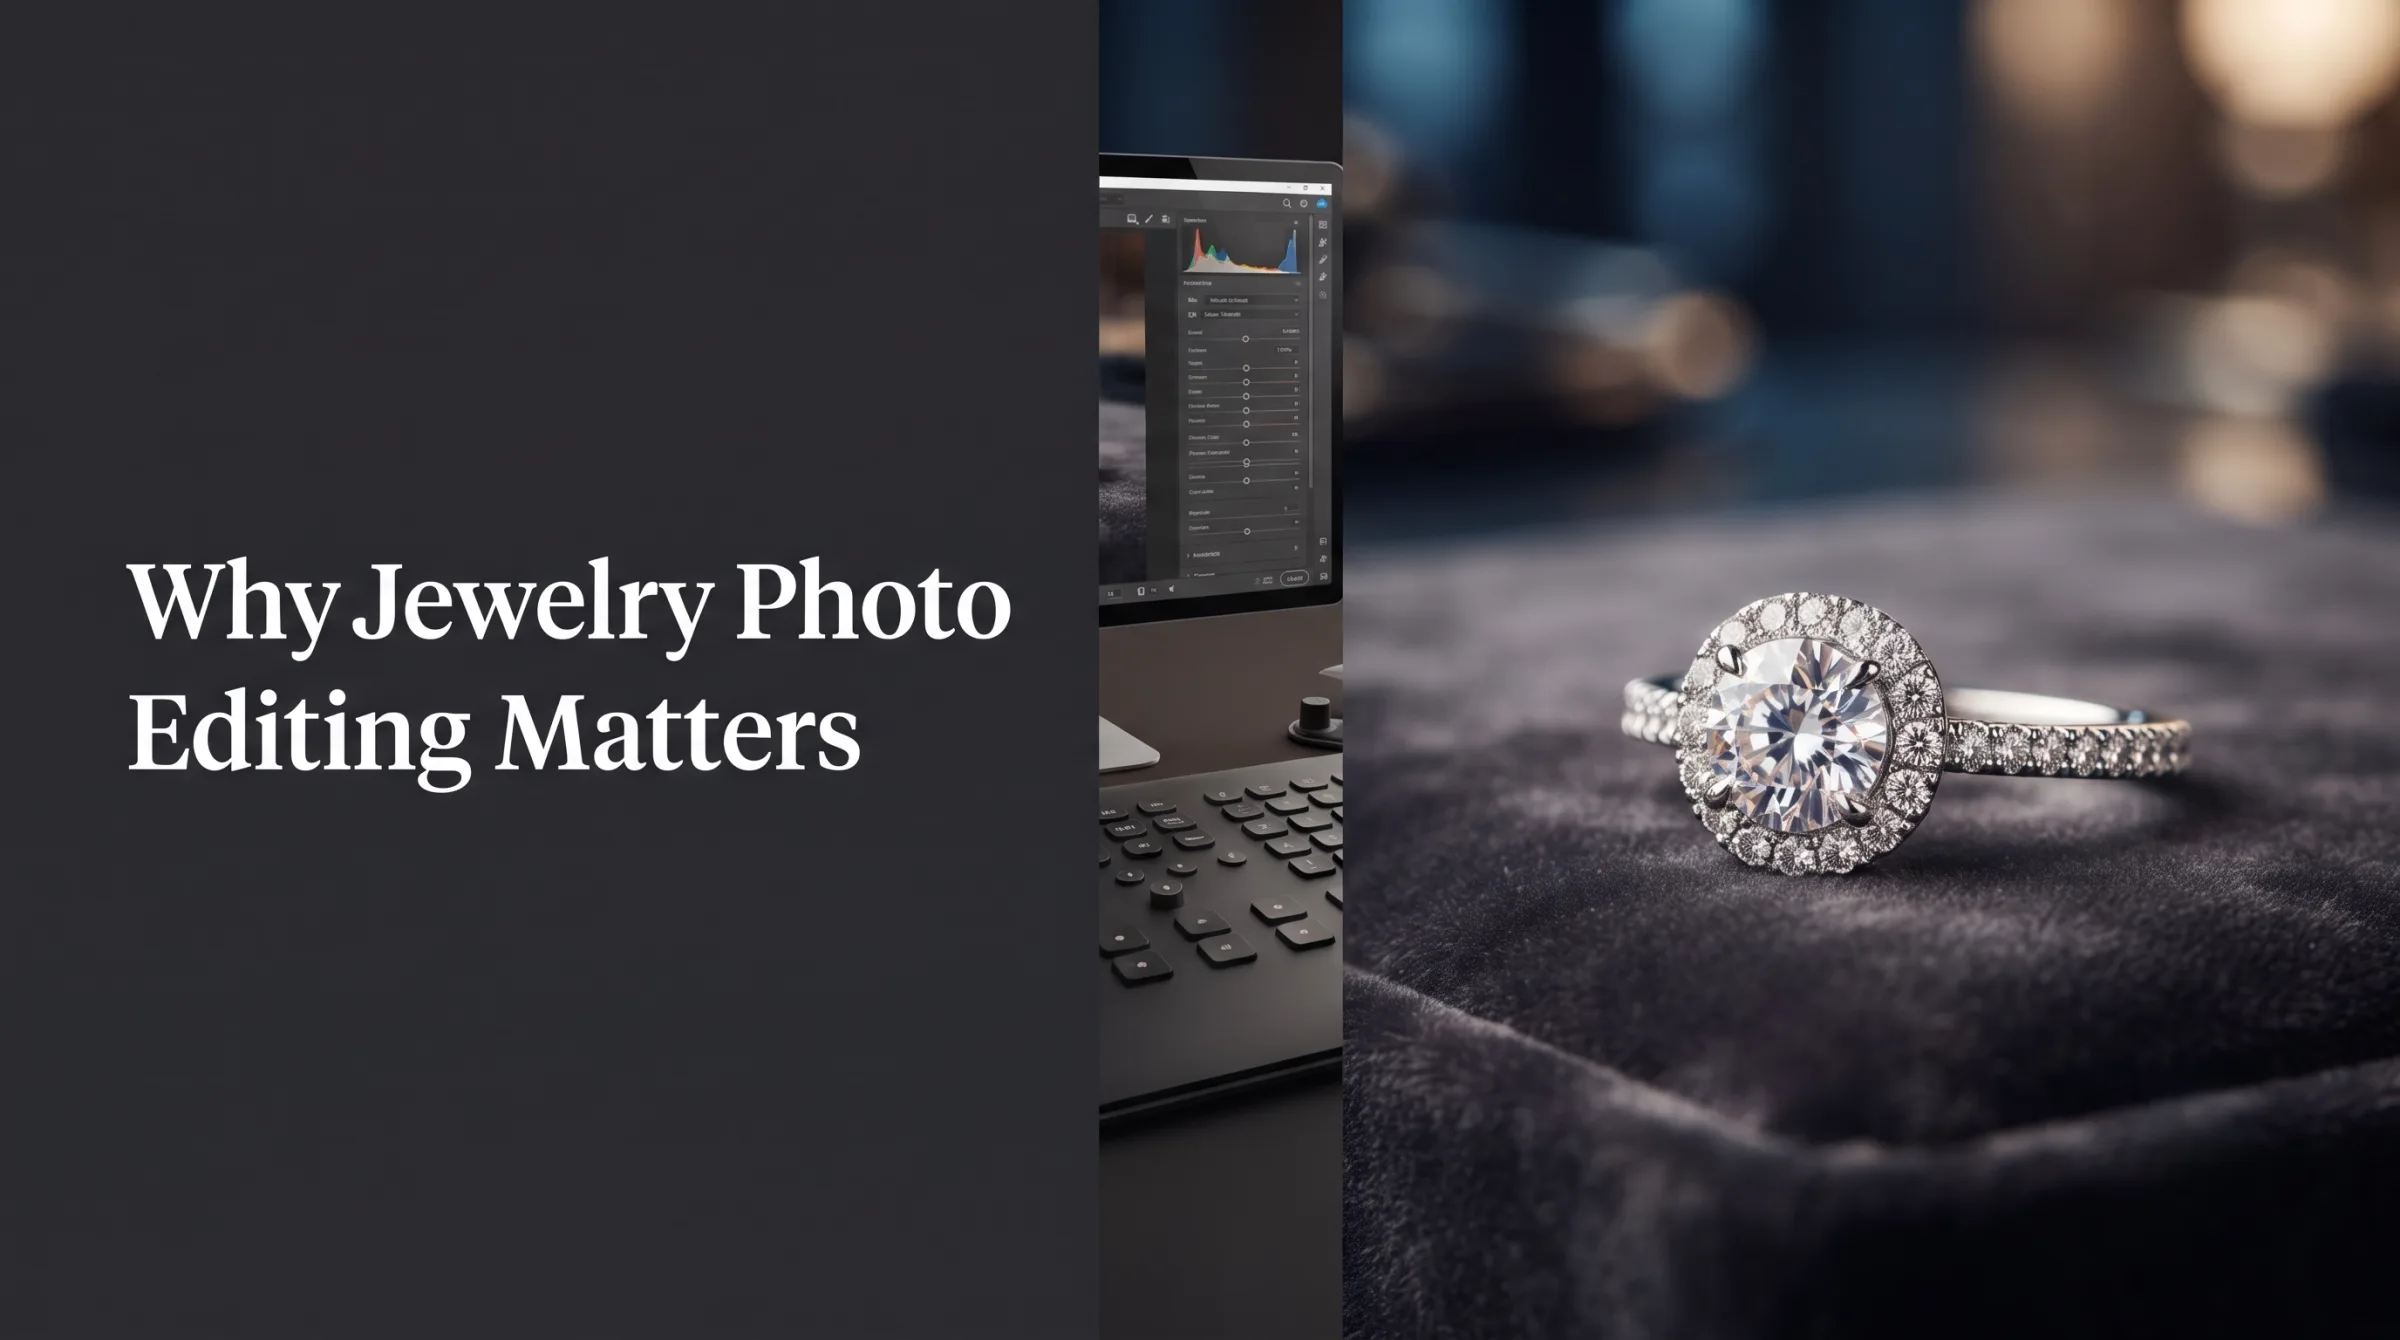
Why Jewelry Photo Editing Matters
Many people assume that taking a good photograph is enough. In reality, even photographs captured using expensive DSLR or mirrorless cameras require post-processing.
Jewelry reflects everything around it, including lights, cameras, photographers, and even nearby objects. Precious stones often fail to sparkle properly straight out of the camera, while metals may appear dull or slightly discolored.
Professional editing helps:
- Remove dust, scratches, fingerprints, and imperfections
- Restore accurate metal colors
- Enhance gemstone brilliance
- Correct lighting inconsistencies
- Improve overall sharpness
- Create clean white or transparent backgrounds
- Produce consistent images across an entire product catalog
The result is a polished image that represents the jewelry exactly as customers expect.
Start With a High-Quality Photo
Photo editing can improve an image, but it cannot completely rescue a poor photograph.
Before opening Photoshop or Lightroom, ensure your original image has:
- Proper focus
- Adequate lighting
- Correct exposure
- Low ISO for minimal noise
- Stable camera positioning
- Multiple lighting angles if necessary
Professional editors always prefer working with RAW files because they contain significantly more image information than JPEG files.
RAW images provide greater flexibility for:
- White balance adjustments
- Highlight recovery
- Shadow recovery
- Exposure correction
- Color grading
Starting with quality images dramatically reduces editing time.
Step 1: Remove Dust and Imperfections
One of the first tasks professional editors perform is cleaning the jewelry.
Even jewelry stored carefully will collect:
- Dust
- Tiny fibers
- Fingerprints
- Smudges
- Scratches
- Wax residue
- Manufacturing marks
These flaws become surprisingly obvious under studio lighting and high-resolution cameras.
Professional editors use tools like:
- Spot Healing Brush
- Clone Stamp Tool
- Healing Brush
- Patch Tool
The objective is to remove distractions while preserving the natural texture of the jewelry.
Avoid over-editing, as excessive cloning may create unrealistic surfaces.
Step 2: Correct White Balance
Metal colors should appear accurate.
Poor lighting often introduces unwanted color casts such as:
- Yellow
- Blue
- Green
- Magenta
A white gold ring should never appear slightly yellow unless that's its actual color.
Professional editors adjust:
- White Balance
- Temperature
- Tint
Silver should look neutral.
Yellow gold should appear rich without becoming orange.
Rose gold should maintain its soft pink tone.
Accurate color builds customer trust and reduces product returns.
Step 3: Adjust Exposure and Contrast
Proper exposure reveals the full beauty of jewelry by ensuring that every detail — from the brightest diamond reflection to the darkest shadow inside a setting — is visible and well-balanced.
If an image is underexposed, gemstones lose their brilliance and metals appear dull and lifeless. If overexposed, critical details in highlights are permanently lost: the facet pattern in a diamond disappears into pure white, and the subtle texture of a polished gold surface becomes a featureless glare.
Professional editors carefully adjust these controls in Lightroom or Camera RAW:
- Exposure — sets the overall brightness of the image; aim for a well-lit appearance without clipping highlights
- Highlights — pull back bright areas to recover detail in reflections and metal surfaces
- Shadows — lift dark areas to reveal detail inside stone settings, underneath prongs, and in engraved recesses
- Whites and Blacks — set the brightest and darkest points of the image to establish full tonal range
- Contrast — increase the separation between light and dark tones to give the image visual depth and dimension
A helpful technique is to hold Alt/Option while dragging the Highlights or Whites slider in Lightroom. The screen turns black and shows colored pixels where clipping occurs, making it easy to find the exact point where detail starts to disappear. For jewelry, preserving highlight detail is especially important because the brightest reflections on metal and gemstones are often the most visually compelling parts of the image.
The goal is to produce balanced lighting that maintains every intricate detail while giving the jewelry a luminous, three-dimensional quality that draws the eye.
Step 4: Enhance Gemstone Sparkle
Customers expect gemstones to sparkle.
Unfortunately, cameras rarely capture diamonds, sapphires, emeralds, or rubies exactly as our eyes perceive them.
Professional editors selectively enhance:
- Brightness
- Clarity
- Highlights
- Reflections
- Saturation (when appropriate)
Rather than artificially creating unrealistic sparkle, experienced retouchers amplify the natural reflections already
present in the photograph.
This maintains authenticity while making the jewelry appear luxurious.
Step 5: Polish Metal Surfaces
Gold, silver, platinum, and stainless steel require special attention.
Professional retouchers smooth uneven reflections while preserving realistic metallic texture.
Common adjustments include:
- Cleaning reflections
- Removing scratches
- Softening harsh glare
- Balancing highlights
- Increasing micro-contrast
The metal should look polished—not plastic.
Over-smoothing is one of the most common mistakes beginners make.
Step 6: Improve Sharpness
Tiny details help customers evaluate craftsmanship and build confidence in a purchase. A shopper zooming in on a product photo wants to see crisp prong tips, clean engraving lines, and individual gemstone facets — not a soft, slightly blurry image.
Professional editors sharpen selectively rather than applying a blanket sharpening filter to the entire image. Key areas to sharpen include:
- Prongs and claws — these small structural details reassure customers that stones are securely set
- Engravings and filigree — fine decorative work should appear crisp and well-defined
- Chain links — individual links should be distinguishable, especially in close-up views
- Gemstone facets — the edges between facets create the sparkle pattern that makes stones attractive
- Settings and bezels — the metalwork surrounding stones should look precise and intentional
In Photoshop, the most effective approach is to use Unsharp Mask or Smart Sharpen on a duplicate layer with a layer mask, painting sharpening only onto the areas that benefit from it. Over-sharpening creates visible halos — bright outlines around edges — and introduces digital noise that makes the image look processed rather than professional.
A useful rule of thumb: sharpen at 100% zoom and stop as soon as you see halos forming. Then reduce the effect slightly. The best sharpening is invisible — it simply makes the jewelry look crisp and detailed without any obvious processing artifacts.
Step 7: Remove or Replace the Background
Background removal is essential for most eCommerce platforms.
Major marketplaces often require:
- Pure white backgrounds
- Transparent backgrounds
- Consistent shadows
Professional editors use techniques such as:
- Pen Tool clipping paths
- Layer masks
- Object selection tools
Complex jewelry pieces with delicate chains require careful manual selections.
Automatic background removal often struggles with intricate designs.
Step 8: Create Natural Shadows
Removing the background doesn't mean removing realism.
Without shadows, jewelry appears to float unnaturally.
Professional editors add:
- Soft drop shadows
- Reflection shadows
- Natural contact shadows
The shadow should complement the lighting rather than distract from the product.
Well-crafted shadows make jewelry appear grounded and premium.
Step 9: Color Correction
Consistency is essential for online stores. Imagine browsing a jewelry collection where every gold necklace displays a slightly different shade of gold, or where silver rings shift between cool gray and warm pewter from image to image. Inconsistent color undermines customer trust and makes your catalog look unprofessional.
Professional editors standardize colors across an entire collection by:
- Establishing metal reference tones — defining the exact hue, saturation, and brightness values for each metal type (yellow gold, white gold, rose gold, sterling silver, platinum) and applying them consistently
- Calibrating gemstone colors — ensuring emeralds, rubies, sapphires, and diamonds display consistent tones across all product images
- Matching brightness and contrast — normalizing overall exposure so products photographed on different days or under slightly different lighting conditions still look like they belong in the same catalog
- Using Lightroom presets or Photoshop actions — automating baseline corrections to speed up the process and reduce human inconsistency
For large catalogs, many editors start by perfecting one hero image for each metal type, then use that image as a color reference while editing the rest of the collection. This approach creates a cohesive shopping experience that makes your brand feel polished and trustworthy — and it can reduce return rates caused by customers receiving products that look different from the photos.
Step 10: Final Quality Check
Before delivering the final image, professionals inspect every detail at high magnification.
They check for:
- Remaining dust
- Editing artifacts
- Jagged edges
- Color inconsistencies
- Cropping errors
- Reflection issues
A second review often catches small imperfections missed during editing.
Quality assurance separates amateur work from professional retouching.
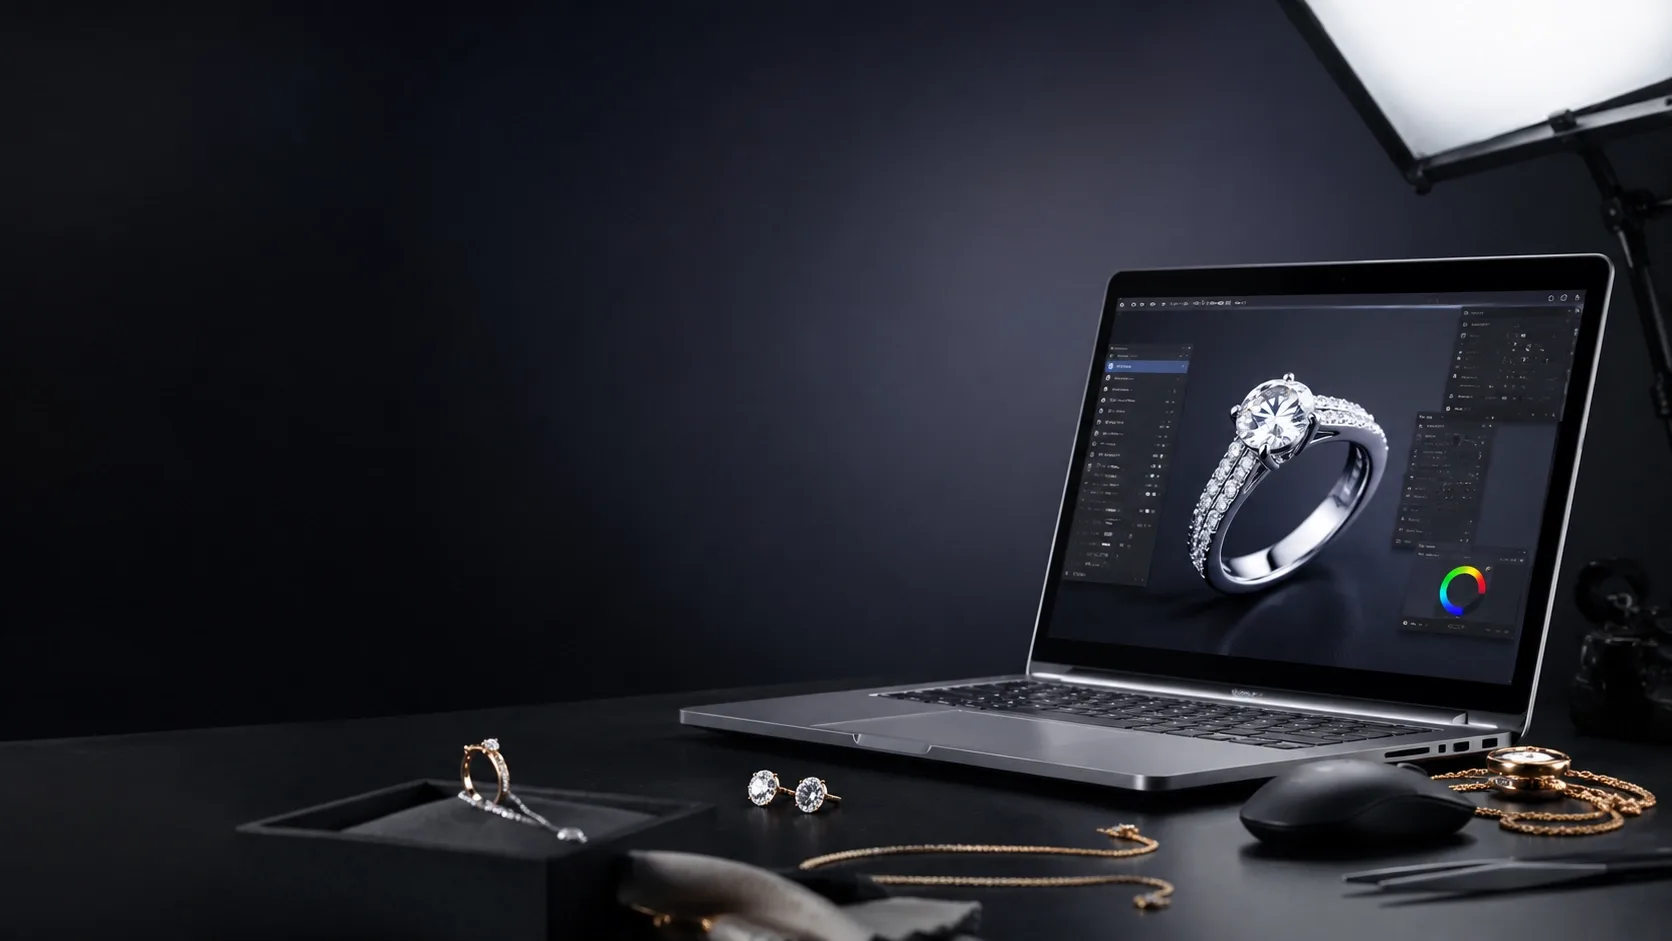
Best Software for Jewelry Photo Editing
The right editing software makes a significant difference in both the quality and efficiency of your jewelry retouching workflow. Here are the most widely used applications in the professional jewelry photography industry.
Adobe Photoshop
The industry standard for advanced jewelry retouching. Photoshop offers unmatched precision for pixel-level editing, making it ideal for dust removal, clipping paths, reflection cleanup, gemstone enhancement, and complex compositing. Features like frequency separation, pen tool paths, and layer-based editing give professional retouchers complete control. Most commercial jewelry studios rely on Photoshop as their primary tool.
Best for: detailed retouching, background removal, gemstone reconstruction, and high-end luxury editing.
Cost: approximately $22/month (Photography Plan includes Lightroom).
Adobe Lightroom
Lightroom excels at non-destructive global adjustments and is the preferred tool for initial corrections before detailed Photoshop work. Its batch editing capabilities allow you to apply consistent color correction, exposure adjustments, and white balance settings across hundreds of images in minutes — essential for large product catalogs.
Best for: color correction, white balance, exposure adjustments, and batch processing entire collections.
Cost: included in the Adobe Photography Plan ($22/month with Photoshop).
Capture One
Popular among commercial and advertising photographers for its exceptional RAW processing engine and superior color accuracy. Capture One handles tethered shooting well, making it a strong choice for studios that photograph jewelry directly into their editing software. Its color editor tool provides more granular control over specific hues than Lightroom.
Best for: studio tethered shooting, RAW processing, and photographers who prioritize color fidelity above all else.
Cost: $24/month or $349 perpetual license.
Affinity Photo
A powerful alternative to Photoshop that offers many of the same professional features — including layers, masks, frequency separation, and RAW development — without a monthly subscription. Affinity Photo is an excellent choice for independent jewelers and small studios that want professional-grade editing tools at a one-time cost.
Best for: budget-conscious professionals who want Photoshop-level capabilities without ongoing subscription fees.
Cost: $69.99 one-time purchase (no subscription).
Common Jewelry Editing Mistakes
Even experienced editors can fall into habits that hurt the final image. Recognizing these common mistakes will help you avoid them in your own workflow.
Over-Saturation
It is tempting to crank up saturation to make gemstones look more vivid, but pushing colors beyond their natural range makes the jewelry look artificial. An over-saturated ruby appears neon rather than deep crimson, and an emerald turns cartoonish green. Customers who receive the actual product will feel misled, leading to returns and negative reviews. Use the vibrance slider instead of saturation for a more natural boost, and always compare your edited image to the original to ensure colors remain believable.
Excessive Sharpening
Over-sharpening creates bright halos around edges and amplifies digital noise, making the image look crunchy and over-processed. This is especially noticeable along chain links, prong tips, and the edges of gemstones. Apply sharpening selectively and at moderate levels. If you can see the sharpening effect at normal viewing size, you have gone too far.
Plastic-Looking Metals
Heavy smoothing removes the natural micro-texture and subtle reflections that make gold, silver, and platinum look like real metal. When editors over-smooth surfaces using tools like the Blur or Smudge tool, the result looks more like painted plastic than precious metal. Preserve the grain and natural reflection patterns — they are what give metal its authentic, luxurious appearance. Frequency separation is the professional technique for smoothing imperfections while keeping surface texture intact.
Unrealistic Sparkle Effects
Adding starburst lens flare or artificial glitter effects to every gemstone is a common beginner mistake. These effects rarely look natural and can make products appear misleading in a commercial context. If a customer expects the dazzling starburst sparkle shown in the photo and receives a normal-looking stone, trust is broken. Instead, enhance the natural fire already captured in the photograph by selectively increasing clarity and highlights within the stone.
Poor Background Removal
Jagged edges around delicate chains, prongs, and filigree instantly reveal amateur editing. Common issues include rough clipping paths that cut into the jewelry, leftover fringe pixels from the original background, and inconsistent edge quality where some parts are clean and others are not. Always zoom to at least 200% and inspect the entire outline of the piece before finalizing. For intricate designs, invest the time in hand-drawn pen tool paths rather than relying on automated selection tools.
Tips for Faster Jewelry Editing
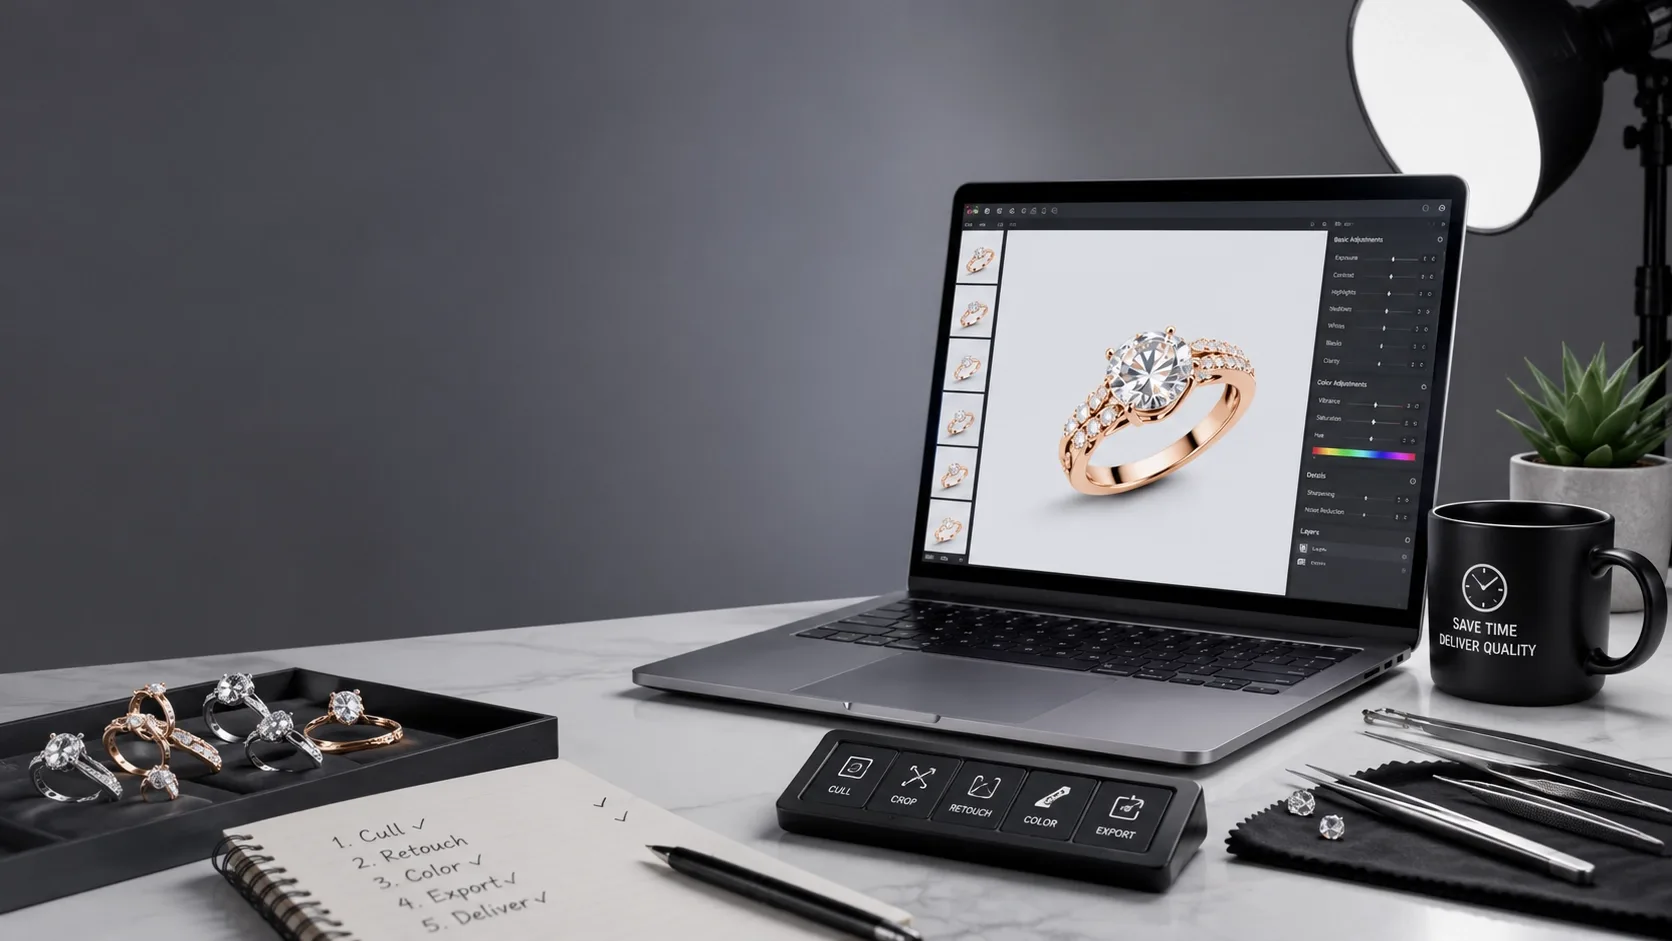
Professional editors save time by developing efficient workflows.
Helpful practices include:
- Organize files before editing
- Use non-destructive editing techniques
- Work with adjustment layers
- Save reusable Photoshop actions
- Create presets for common corrections
- Calibrate your monitor for accurate color
Efficiency becomes increasingly important when editing hundreds or thousands of product images.
Should You Edit Jewelry Photos Yourself or Hire Professionals?
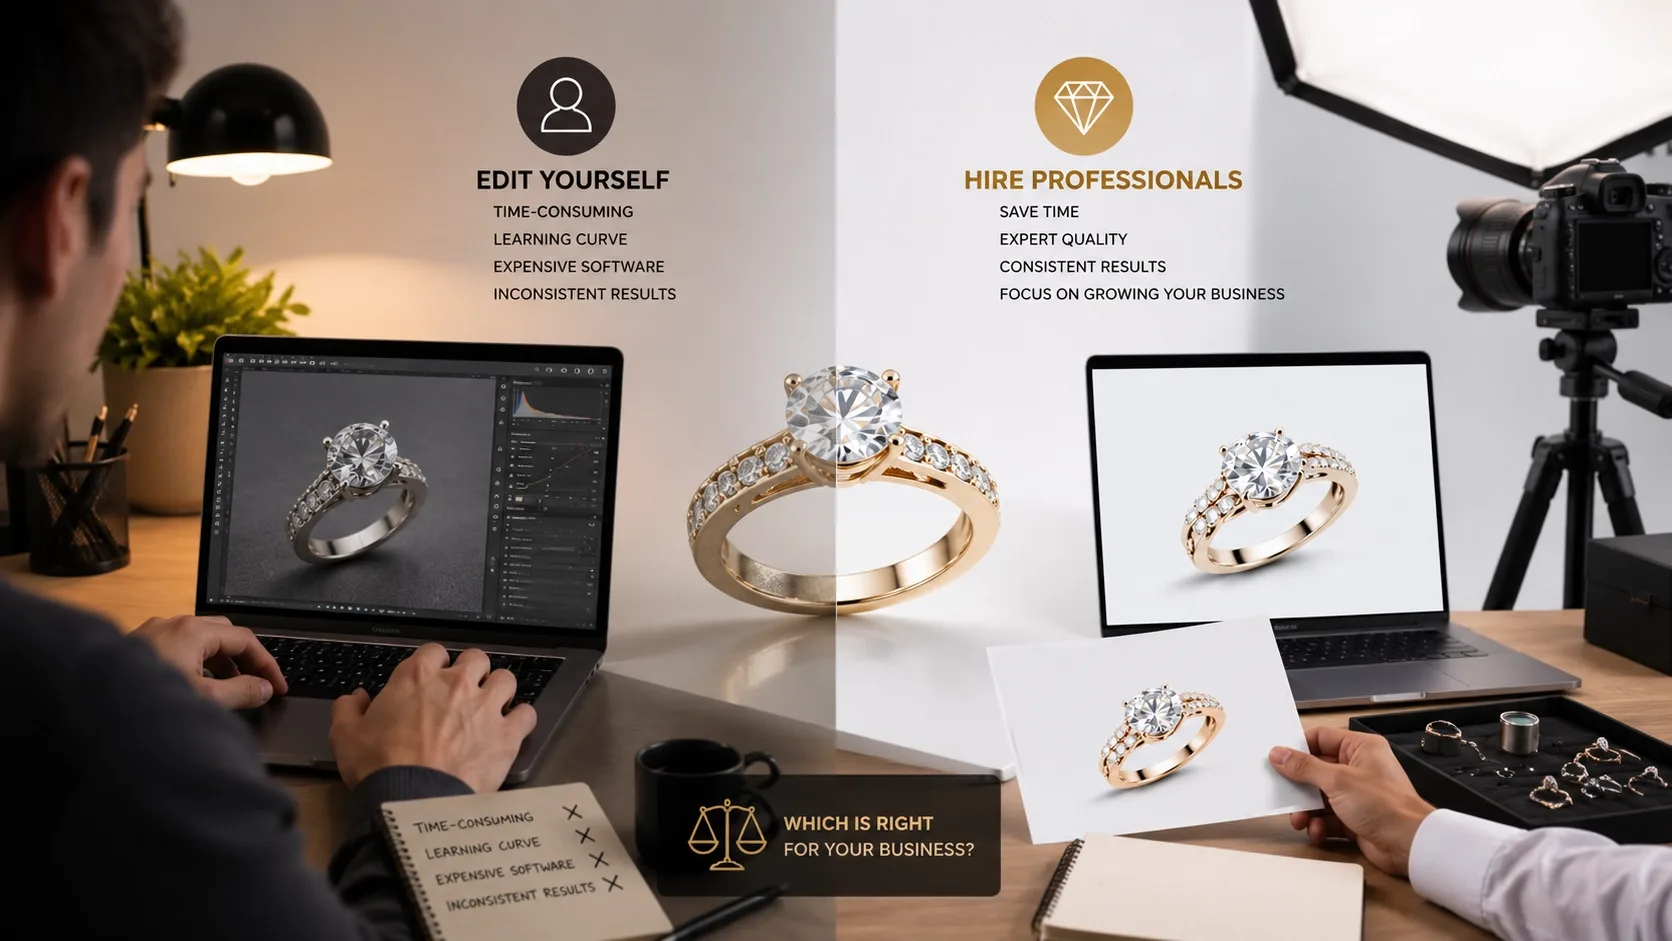
The answer depends on your business size and goals.
If you're a hobby seller with only a few products, learning the basics of Photoshop or Lightroom can be a cost-effective solution.
However, if you manage a growing jewelry business or an online store with hundreds of products, outsourcing professional photo editing often saves time and ensures consistent, high-quality results.
Professional retouchers have years of experience handling complex reflections, intricate gemstone details, and luxury-level finishing that can be difficult for beginners to replicate.
When deciding whether to edit in-house or outsource, consider:
- The size of your product catalog
- Your available time
- Your editing experience
- The quality expectations of your target customers
- Your overall marketing goals
Investing in professional editing can improve the perceived value of your products and help establish a stronger brand image.
Final Thoughts
Professional jewelry photo editing is about much more than making an image look attractive. It's about accurately showcasing craftsmanship, materials, and fine details while presenting products in a polished, trustworthy way.
Every step—from removing dust and correcting colors to enhancing gemstones and refining reflections—contributes to a final image that inspires confidence and encourages customers to make a purchase.
Whether you're a jewelry retailer, photographer, or eCommerce business owner, mastering these editing techniques can dramatically improve the quality of your product images and strengthen your online presence. By combining careful photography with thoughtful post-processing, you can create visuals that not only look luxurious but also help your jewelry stand out in an increasingly competitive marketplace.